Wooden fences last anywhere from 10 to 15 years.
Fence painting or staining helps your wooden fence to last even longer!
When you invest in installing a fence, you’re investing in quality, protection, and curbside appeal. Fence painting or staining can add life and appeal to your investment by protecting it from wood rot, disease and wear and tear while enhancing your home’s aesthetic value.
Fence staining is a better option than fence painting, however, due to maintenance and appearance over time. Wood absorbs stain and will fade over time, whereas fence paint will chip and look less attractive.
We all want to “wow” our neighbors with our home’s appearance, but it’s important to make sure we are properly painting or staining our fences so that we are happy with the results. After all, you’ve already invested money into installing and purchasing your fence, so it’s best to prepare and do the job right.
Read on to learn how to paint or stain your fence and get the best long-term results!
Fence Painting: A Step-by-Step Guide
1. Prepare
Gather the necessary supplies prior to opening a can of paint or stain. For this project you will need:
- Outdoor Cleaning Solution
- Medium-grit Sandpaper
- Exterior Wood Paint or Stain
- A stiff hand brush to clean wood surface
- A painting applicator (brush, spray, or roller)
- Safety goggles
- Dust Mask
- Protective gloves and clothing
- Drip Cloth
If your fence isn’t brand new, you may also want to consider purchasing wood filler and supplies needed to correct any wood damage. When choosing tools and supplies make sure to consult the manufacturer instructions to see what they recommend when using their products. Make sure to keep all treatment and paint products out of the reach of children at all times.
Prepare for environmental conditions. Make sure to mow your lawn and trim around your fence to remove any obstructions. Sweep any trimmings and debris away from your fence to prevent them from getting stuck to the wet paint.
Check the weather for the week and make sure not to paint before a rainfall or if rain is expected within the next few days. While we can’t control the weather, it’s best to have an idea of what the forecast predicts beforehand.
Lastly, cover any areas that you do not want to accidentally get paint on.
2. Prepare the Wood
Use the stiff brush and outdoor cleaning solution to clean the surface of the wood and remove algae. If you need to make repairs to the wood, now is the time to do so. Sand the wood down after making repairs or to remove previous paint. Sanding the wood also helps stain and paint to better attach to the wood.
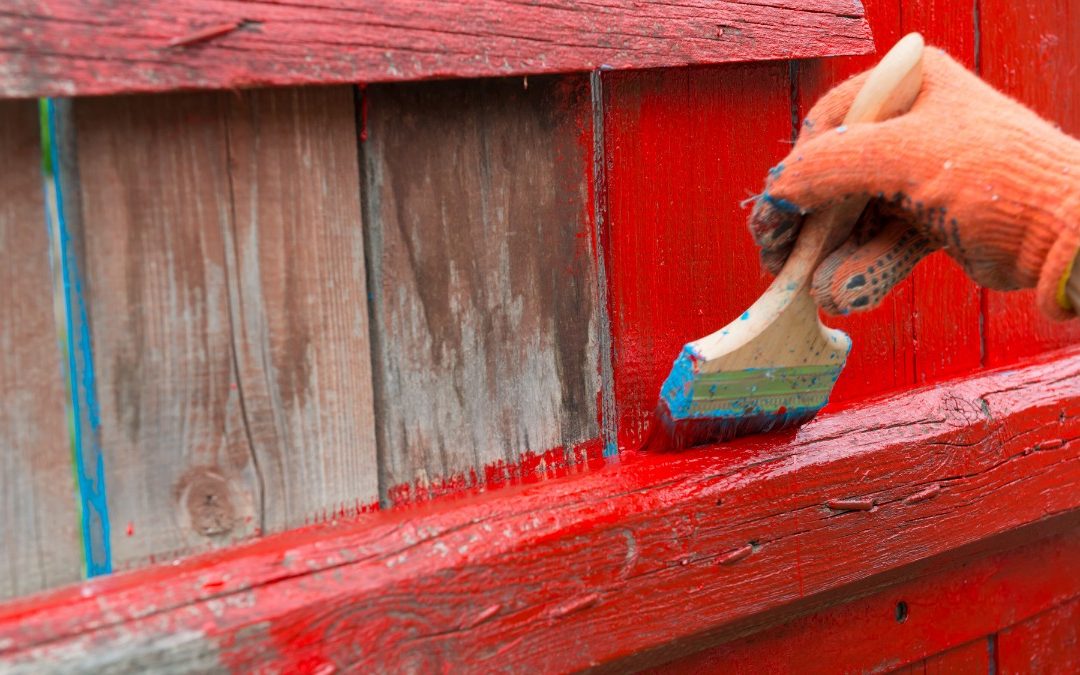
3. Painting/Staining
Mix the exterior paint or stain and apply to a small area of your fence to make sure you like the color.
Follow the directions provided by your exterior paint and paint applicator device for best results.
For example, if using a brush or roller, apply a thick, even coat to wood along the grain using short strokes. Avoid over saturating your paintbrush or roller so that dripping does not occur. Have your drip cloth on hand to prevent stain or paint from drying in a clump or unsightly shape.
4. Drying
Consult the manufacturer’s drying instructions of your exterior paint or stain prior to applying another coat if needed. If you used covering materials to shield items from getting paint on them, wait until the paint is completely dried before removing.
Better Fence, Better Home
Need help with updating the look of your fence? Contact us today for a free consultation. We can help your home look better while protecting your investment. If your fence passed its glory days, we can also remove it and install a new one!
Browse our products to see which fencing may be right for you and your home!